Here is a simple guide on how to Register Pension on Ecitizen. Are you in Kenya or a Kenyan? Do you have senior citizens around you having trouble getting into the New pension system requirements? The Ministry of Treasury has announced that all pensioners must register on the new pension registration portal through the E-Citizen platform. If you’re wondering how to go about it – registering pension on E-citizen, don’t worry—this blog post will walk you through every step of the registration process.
Step 1: Log in to the E-Citizen Portal
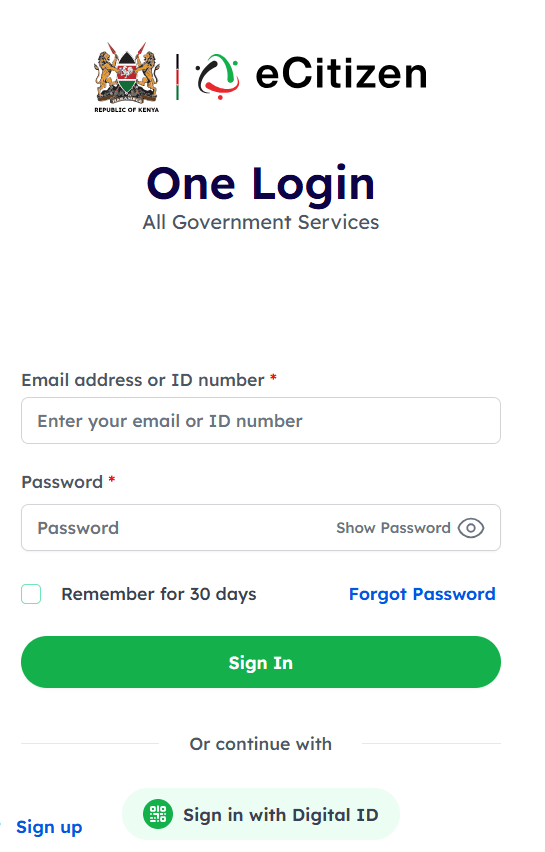
Start by searching for E-Citizen in your browser and click the first link to access the portal. Once there, click on the “Log In” button to proceed. You’ll need to enter either your email address or ID number. In this example, we’ll use the ID number.
After entering your ID, input your password and click Sign In. The portal will ask where to send your One-Time Password (OTP). Choose the phone number option, enter the OTP received, and click Next.
Now you’re logged in!
Step 2: Navigate to the Pensioner Registration Portal
Once logged in, click on “National,” then scroll down to find “National Treasury and Economic Planning.” Select it, then click on “Pensioner Self-Registration Portal.”
Read through the guidelines carefully. If you need further clarification, you can leave a comment down below. When ready, click Proceed after confirming you’ve read and understood the information.
Step 3: Choose Your User Type
Next, select your user type: Principal Pensioner, Dependent Spouse, or Dependent Child. For this tutorial, we’ll choose Principal Pensioner and proceed.
Step 4: Enter Pensioner Details
You’ll be prompted to input the pensioner’s ID number and payroll number. For example, if the pensioner is a teacher, use the TSC number. You may also enter the pensioner number, although it’s not required. After entering this information, click Proceed.
The system will verify the pensioner’s details, including their full name, ID, and pension number. Once confirmed, click I Confirm.
Step 5: Provide Contact Information
Now, enter a valid email address and an active phone number. These are crucial as they will be used for communication regarding the registration. After entering these details, Proceed.
Next, create a password. Your password must be at least eight characters long and include uppercase letters, lowercase letters, digits, and special characters. Once all requirements are met, re-enter the password and click to Proceed.
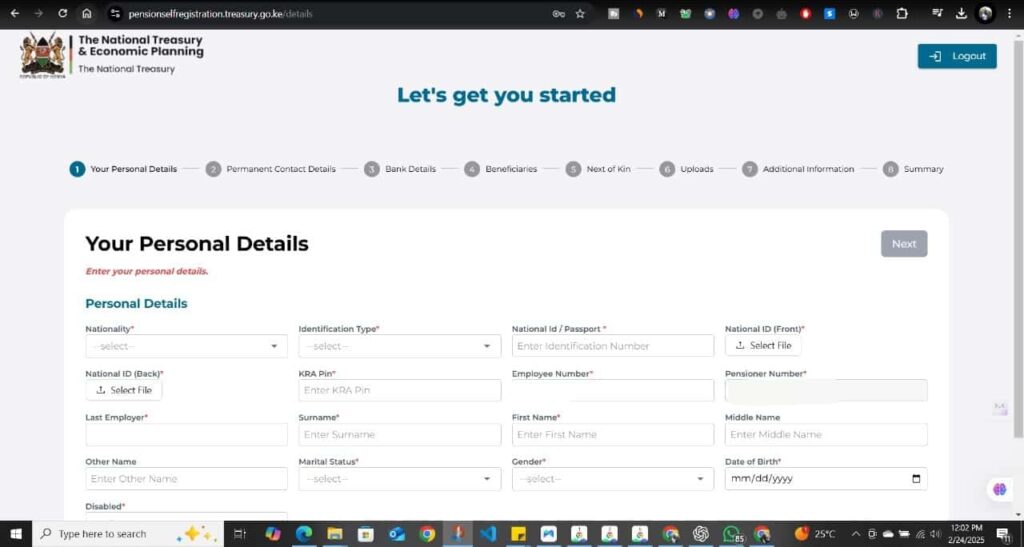
Step 6: Complete Personal Information
Fill out personal details, including nationality, identity type (choose National ID), and enter the pensioner’s National ID number. You’ll also need to upload both the front and back sides of the ID.
Further, enter the pensioner’s KRA PIN (make sure it’s correct) and details of the last employer e.g. TSC. After completing these sections, click Next.
Step 7: Provide Address and Bank Details
For the next section, input the pensioner’s permanent address details, including country, county, sub-county, city, and village. You will also need to provide the postal address and postal code.
Next, fill in the pensioner’s bank details. Choose whether it’s a bank or a Sacco account, enter the account name (i.e. Name on Bank ATM Card), number, and upload either a bank or Sacco plate (front side only). Ensure that all information is accurate to avoid any registration issues.

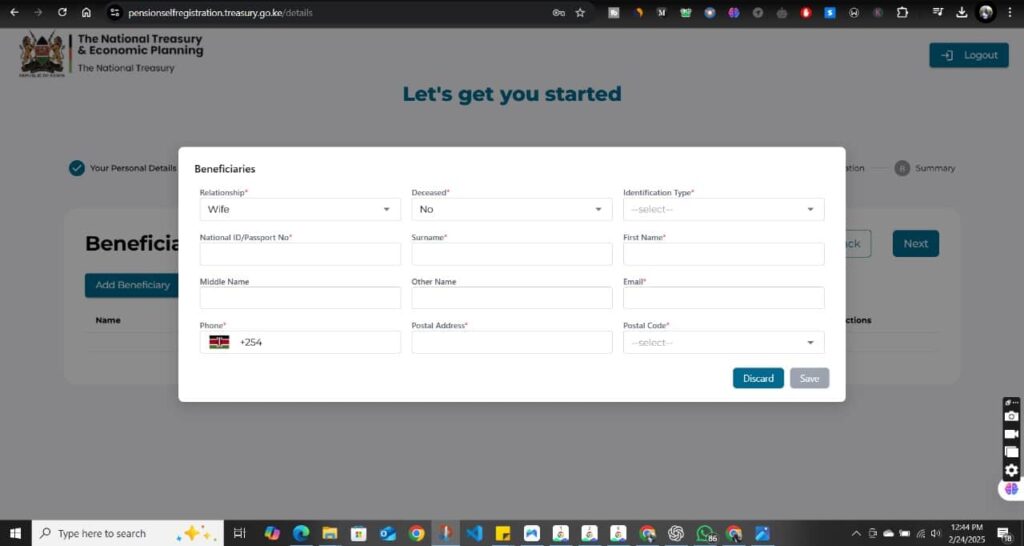
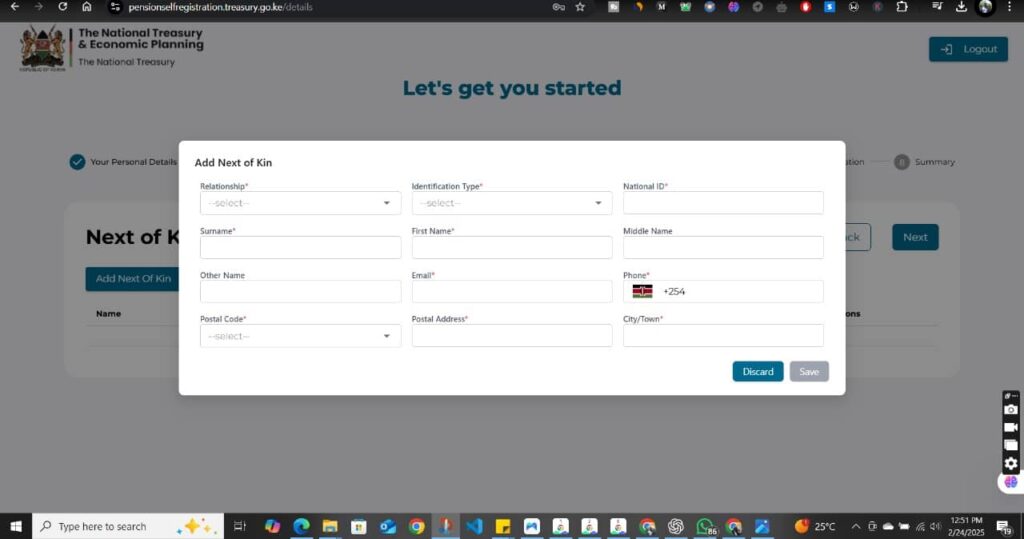
Step 8: Fill in Beneficiary and Next of Kin Information
After the bank details, you’ll need to provide information about the pensioner’s beneficiary (e.g., spouse) and next of kin. Include their ID number, names, contact details (active email and phone number), and relationship to the pensioner.
Step 9: Final Review and Submission
After completing the forms, you’ll be prompted to review all information. If everything looks good, click Submit. This action will send your registration for processing.
Step 10: Account Confirmation
Once your form is submitted, the National Treasury will cross-check the provided details with their database. If everything matches, your account will be approved. If there are any discrepancies, they’ll reach out via email for corrections.
So that’s how you register pension on E-citizen.
Also Read: How to File KRA Returns Online to avoid fines